
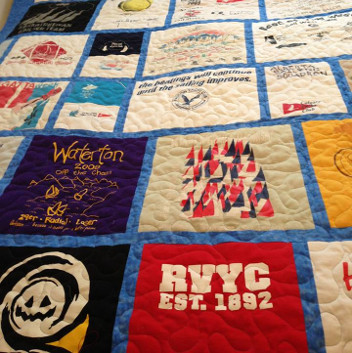

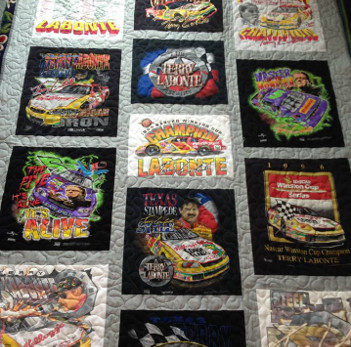
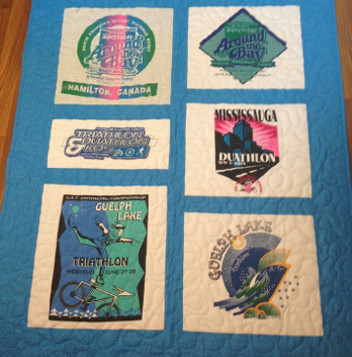
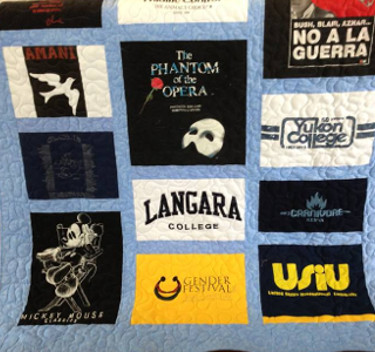
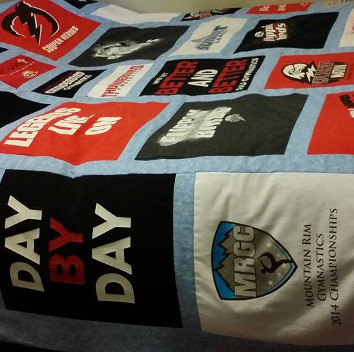
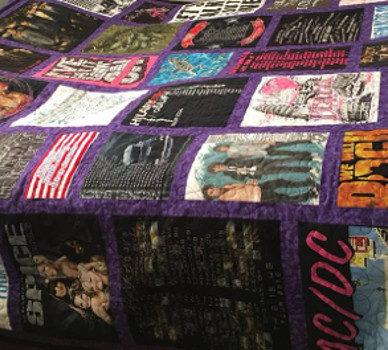
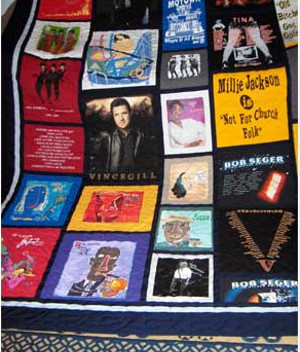
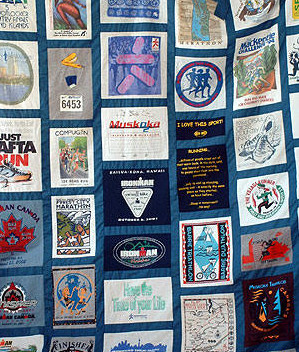
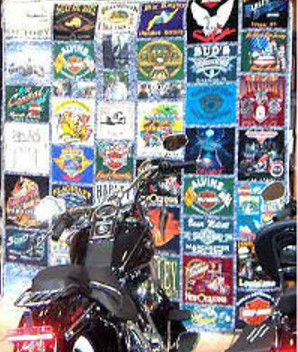
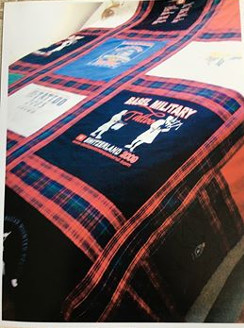


 A BARBARA t-shirt quilt is a work of art. The logos on the shirts are cut out in different sizes and shapes, according to the design of the shirt, not just cut into squares and stitched together.
Sashing, the border to each t-shirt logo, is made from high quality 100% cotton using appropriate small patterned fabrics, not plain broadcloth (which is a lot cheaper but much less attractive). Great care is taken in the layout of the logos. Shape, size, colour value and design compatibility and balance are all given careful consideration. High quality, commercial cotton stabilizer backs every shirt, not fabric store dressmaking stabilizer (which is mostly synthetic and can easily stretch or wear out with time).
The actual quilting is done by a highly qualified long arm quilter not by someone just learning to use their machine. Many beginners offer long arm quilting services before they really know how to use their machine properly.
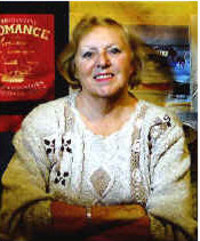
BARBARA understands that your t-shirt quilt is a valuable keepsake of some of YOUR most precious memories and something you will want to treasure forever. She takes as much care with your t-shirts and your quilt as she would her own.
*** Please note that my home and studio are totally pet and smoke-free. ***
Every precaution is taken to ensure your finished quilt is as allergen-free as possible.
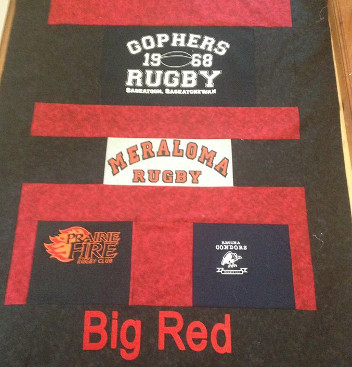
It doesn't matter how many tshirts you have. This quilt is made from 1 shirt
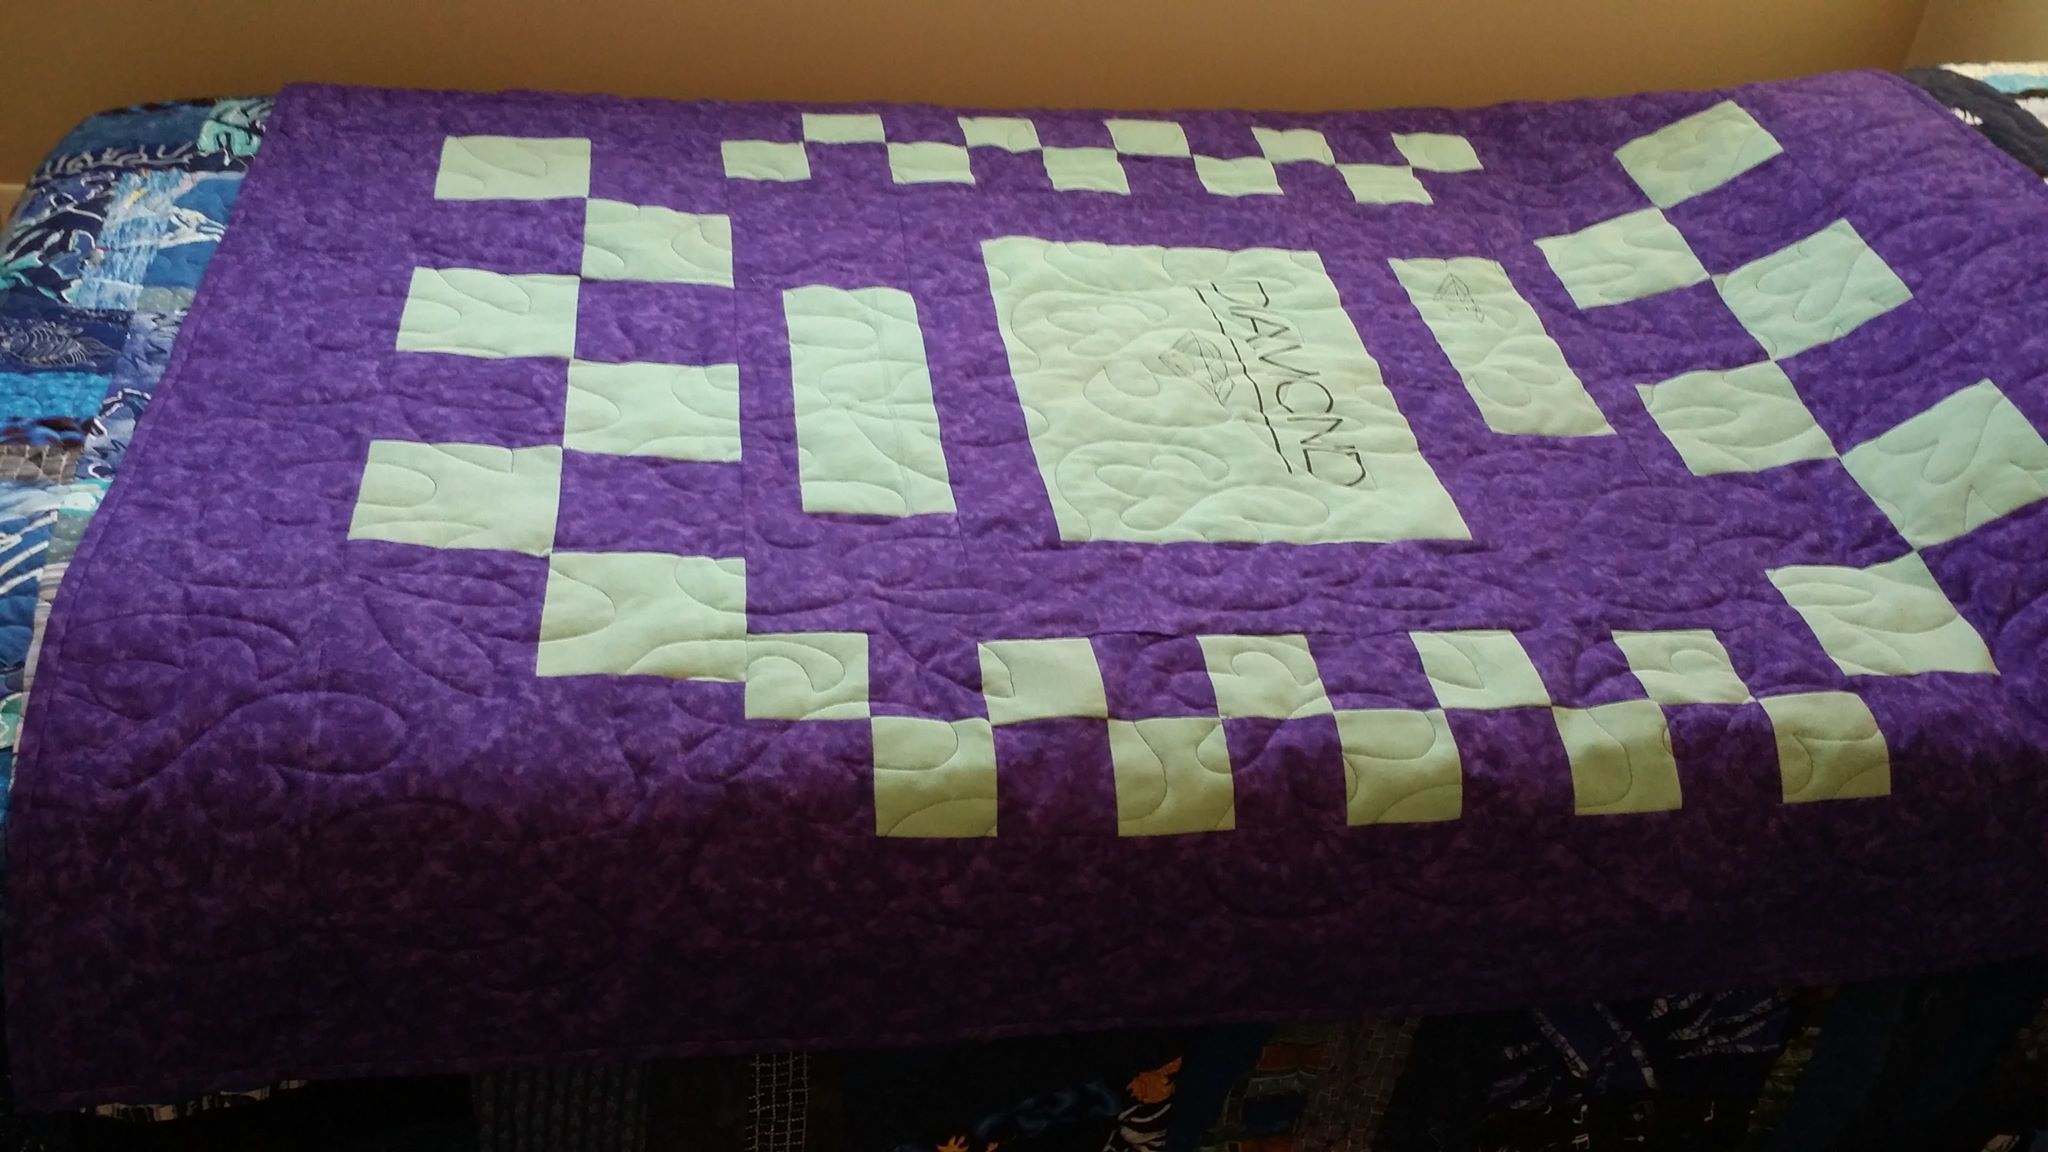
So, The first "expensive" gift I ever got for Marc had found its way back to me after he passed. I remember buying it because at the time he was still using his Pman Diamond League in his FB. He would always talk about when he was in the diamond league on CS... I didn't want to have a balled up sweater just laying around, so I looked into different ways to use the material and because of the logo a quilt seemed like the best option, so on my birthday I put the deposit down to Barbara Elias. She hand made this for me. It was literally worth every single cent I spent on it. I'm so happy with how it turned out, and I'm happy she was able to find a rich purple since it was his favourite colour.
I learned so many life lessons from Marc, and he was such a big part of my adult life, I think about him often, and I'm happy his suffering ended... but I miss him everyday. I'm happy I could find an amazing woman to make this blanket in memory of him. RIP Marc.
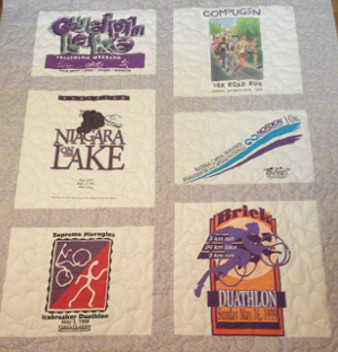
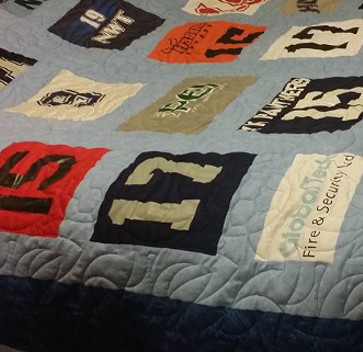
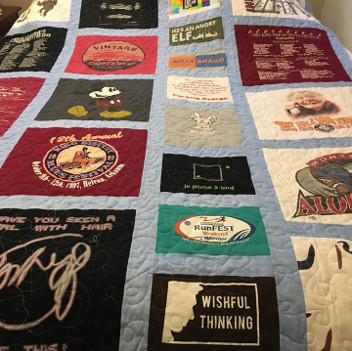
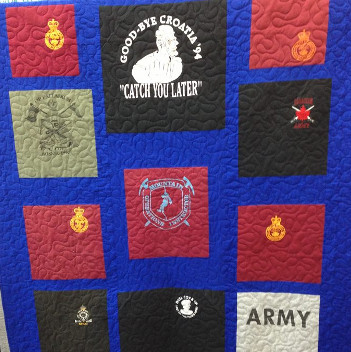
This quilt has 11 shirts
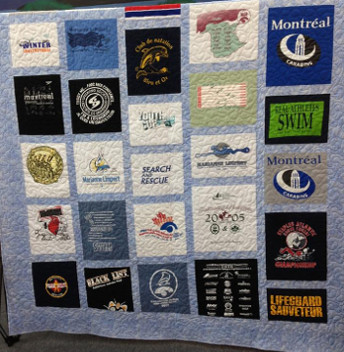
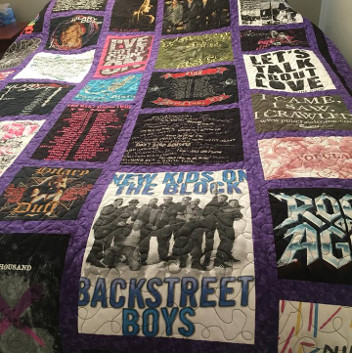
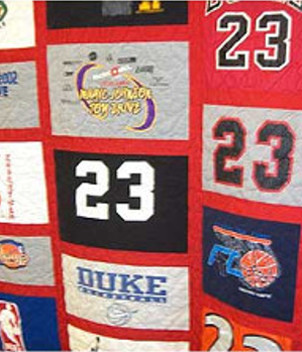
This king sized quilt has over 50

You may find someone to make your quilt at a lesser price; you will not find anyone who can create a comparable work of art from YOUR t-shirts.
Yes we can work with “DRY FIT” fabric at no extra charge.
These very personal quilts also make wonderful gifts or awards.
Team gift for the coach
Wedding gift
Graduation gift, whether high school, college or university
Memory gift for a grandparent, particularly someone in a retirement home
Just to remember the good times This email address is being protected from spambots. You need JavaScript enabled to view it.
To view more Memory Quilts and other examples of Barbara's work, please visit www.ExquisiteQuilts.com
To send Barbara an email This email address is being protected from spambots. You need JavaScript enabled to view it.